
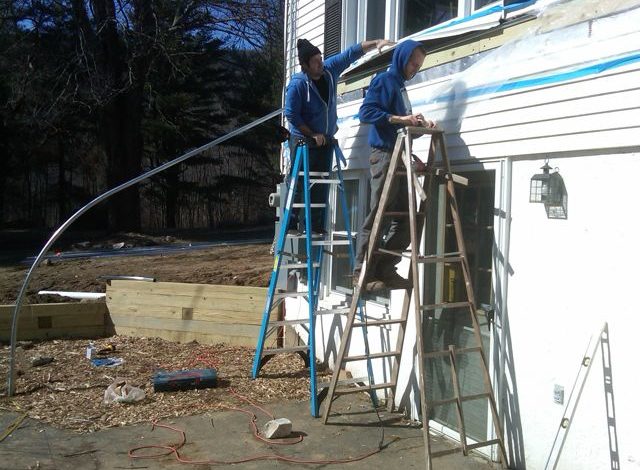
 The boys making it happen. you can see the western most hoop in the background. since we are modifying a greenhouse kit we had to make up the exact placement of the arches as we went along. we lost 10″ by not having the ridge connector. we spent the day pounding 2.5′ posts into the ground and drilling thru the asphalt seen in the foreground. andrea’s hammer drill really came in handy and anthony would have made his people proud.
Rimol sends a wood jig to set the position of the bows at the arch after we do the ground measurements and set the posts. 
Turns out we used the “wrong” bracket to mount the bows to the side of the house. We are going to add a bracket underneath where we dont already have lag bolts adding a bit of extra vertical support. We have been studying this and the verdict is that this modification should be ok.
 The bracket that RIMOL makes for this application came by separate delivery after we had all of the bows installed. apparently we bend them over the hoops after they are affixed to the wall. VERY beefy. Even this early we have seen enough complexity and pitfalls to be super happy with the decision to go with RIMOL. The current construction feels sturdy and was simple. Lots of good tips and details in the setup instructions. Dave, our local rep, has fielded numerous calls. i have been sending him pictures to his mobile phone and he has been helping us along. The support tools that ship with the kit were welcome. We continue to educate ourselves on youtube about things like batter boards.
not pictured but of note from today is that we went with cedar wood for the base board. we did not trust the pressure treated wood after further research. all signs say it is ok, but we chose to go with the natural version at over 2x the cost. we dropped down to 1×6 which i now see may have some durability issues with people walking over it. we also had the further expense of buying shorter screws since the system is set up to go into 1 1/2 thick wood.
